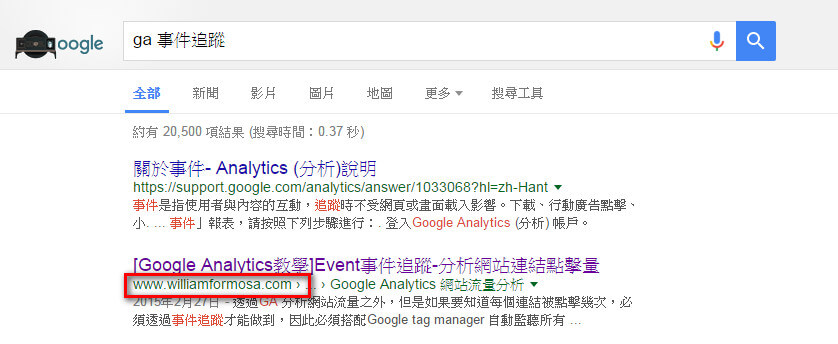
Google Webmaster blog 於2015 年底宣布 採用HTTPS 協定的網站,將會優先排名,而且為預設索引。代表者Google 希望網站都採用SSL加密技術來保障使用者權益。
Indexing HTTPS pages by default
那是不是意味著SSL憑證會熱銷?
就在同時間,Let’s Encrypt一個數位憑證認證機構(CA)推出免費 SSL/TLS 憑證服務

跟以往取得憑證的方式不太一樣,必須透過Linux 指令來安裝憑證
只要透過下面四行指令就可以安裝起來,安裝步驟請參考官網說明 How it works
$ git clone https://github.com/letsencrypt/letsencrypt
$ cd letsencrypt
$ ./letsencrypt-auto certonly –webroot -w /var/www/example -d example.com
最後一段指令意思是,指定網域資料夾,對應的網域

letsencrypt 更新成功後,會有個Congratulations 代表恭喜 已完成憑證安裝了

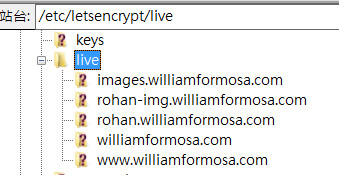
憑證安裝在哪呢? /etc/letsencrypt/live 裡面會顯示最新的憑證,檢查看看有沒有剛剛新增的網域
文章目錄
Nginx 設定檔
最重要的是設定主機伺服器設定檔 這邊有User Guild,威廉獅主機採用Nginx
server {
listen 443;
server_name domain.com www.domain.com;
root /srv/www/domain.com/public_html;#最關鍵的三行!!!(domain 要換成自己的網域)
ssl on;
ssl_certificate /etc/letsencrypt/live/domain.com/fullchain.pem;
ssl_certificate_key /etc/letsencrypt/live/domain.com/privkey.pem;location / {
index index.php index.html index.htm;
try_files $uri $uri/ /index.php?q=$uri&$args;#要讓php 也支援https (我採用的是fastcgi)
location ~ \.php$ {
fastcgi_param HTTPS on;
fastcgi_pass unix:/var/run/php-fastcgi/php-fastcgi.socket;
fastcgi_index index.php;
fastcgi_param SCRIPT_FILENAME /srv/www/domain.com/public_html/$$
}
}
為了讓原本http 可以自動轉址到https,要加301 rewrite http to https,注意Server {} 總共有兩組唷一個是 80 port 另一個組是給443 port
server {
listen 80 default_server;
server_name domain.com;
rewrite ^ https://www.domain.com$request_uri permanent;#rest of the config…
}
WordPress 設定
在wp-config.php設定檔裡面也要加上這兩行,強迫讓wp-admin 後台也是採用https 協定
define(‘WP_HOME’,’https://www.domain.com’);
define(‘WP_SITEURL’,’https://www.domain.com’);
define(‘FORCE_SSL_LOGIN’, true);
define(‘FORCE_SSL_ADMIN’, true);
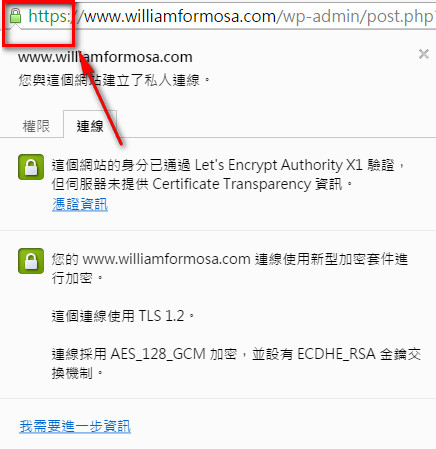
如果是全新的wordpres 網站經過上面的修改基本上就可以獲得綠色的鎖,打開Chrome F12 開發者工具也沒有顯示錯誤的話就代表OK。
但是最困難的將所有的內部連結開頭為http 都改為https
HTTP網址轉成HTTPS
- 修改header.php 將CSS 或是 Javascript 連結 套用<?php bloginfo( ‘template_url’ ); ?> 或是//
採用php bloginfo 宣告,會抓取wp-config.php裡面的 siteurl 網址

網址開頭為// 會自動判斷http 或是https

- 修正wordpres 4.4 圖片srcset 的問題 ,自從wp更新到4.4之後,圖片上傳後會自動加上html5最新的srcset參數 加強RWD的效果,請參考WordPress 討論區解決方案

SQL批次修改內部連結HTTP to HTTPS
透過下面兩行將文章裡面的連結,照片參照連結,只要有包含http://www.domain.com(domain記得換成自己的)更換https://www.domain.com。
總共要更新兩個資料欄位,post_content與guid。
UPDATE wp_posts SET post_content = REPLACE(post_content,'http://www.domain.com','https://www.domain.com')
UPDATE wp_posts SET guid = REPLACE(guid,'http://www.domain.com','https://www.domain.com')
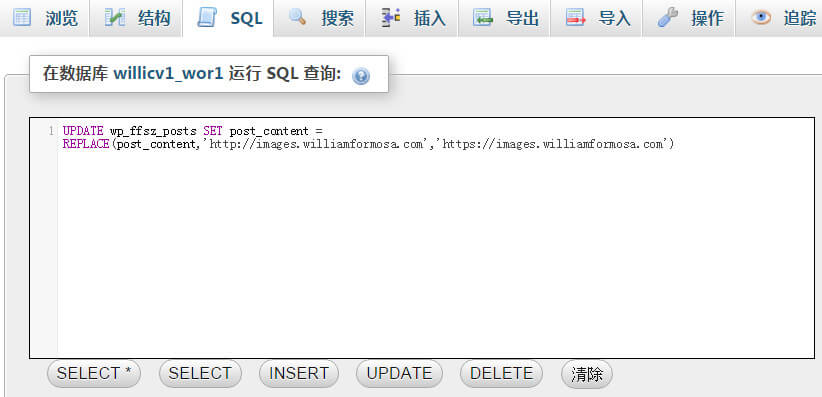
SQL執行後,會顯示有多少連結與照片參照連結被更新了

更新後再回到網站前台打開Chrome F12 開發者工具看有沒有連結還是http的,因為HTTPS協定不允許有內部連結採用HTTP。
憑證更新
let’s encrypt 的憑證每三個月要手動更新一次,不然就會失效了唷
./letsencrypt-auto certonly –keep-until-expiring –webroot -w /var/www/example.com -d example.com,www.example.com
撤銷憑證
如果哪天不想玩了,就用這行把憑證砍了吧
$ letsencrypt revoke –cert-path example-cert.pem
SEO設定-新增https網域&提交XML Sitemap
確定https 驗證OK後,接下來是SEO的part
請到網站管理員工具,要新增https的網域,原本舊的就無法沿用了
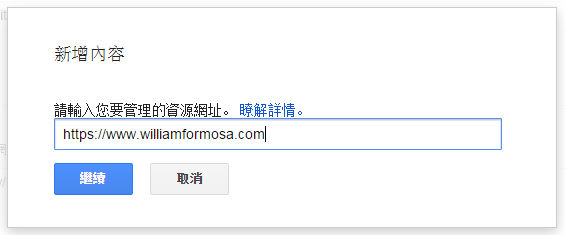
到Google Search Console Sitemap 重新提交xml sitemap

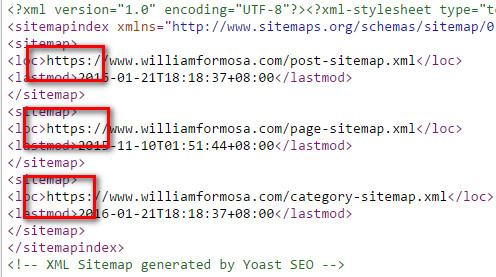
同時也要檢查sitemap檔案裡面的連結是不是採用https
以及Google 模擬器,手動提交網址,只需要提交首頁並選擇:檢索這個網址及其直接連結
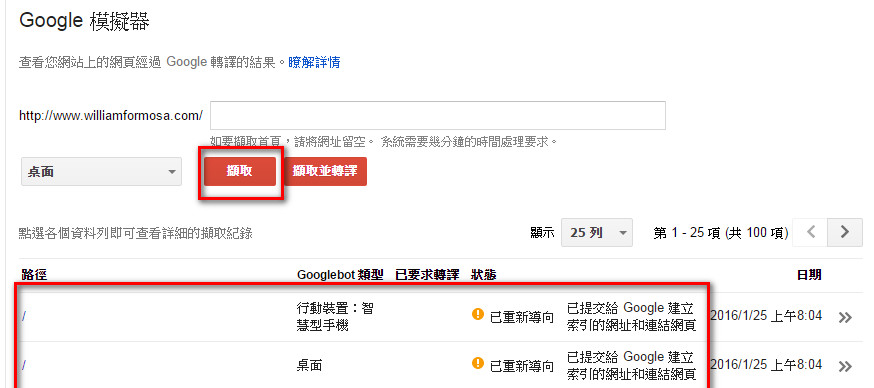
最後等待Google 重新索引https 的網址吧!!
